Welcome to the Adventures in Paver Sealing podcast with your host, Jeff Evers of Paver Protectors. Thank you for tuning in to the Adventures in Paver Sealing podcast. I’m your host, Jeff Evers and today I wanted to talk about sand levels. The sand level is the brick paver sand that’s in between the joints of the bricks.
We often get asked, “Do we need sand? How do we know if we need sand?” …and so on. So I wanted to make this podcast to address that issue so that people can listen to it. And then whether you’re a paver sealing professional, somebody just getting into the business or a homeowner that is considering doing this themselves, you will have the information to get you started in making the decisions on what to do.
Advantages & disadvantages of re-sanding paver joints
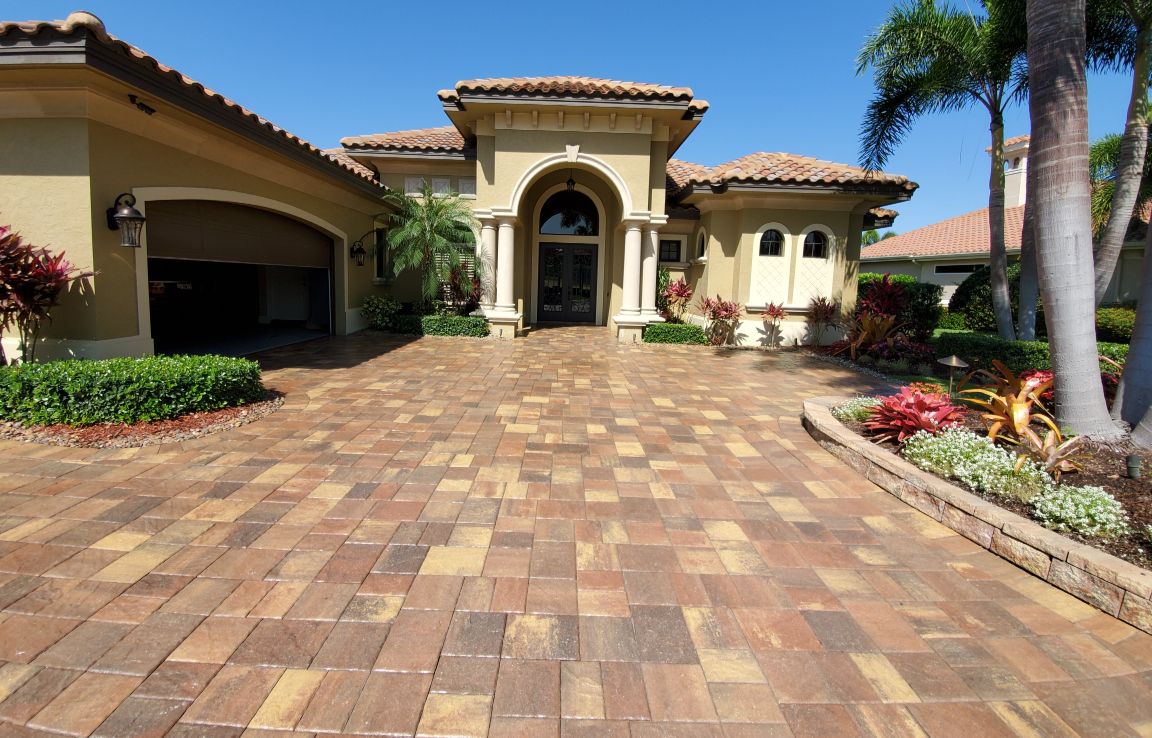
There are many advantages and disadvantages of re-sanding your paver joints. First of all, you may ask “Why sand?” Well years ago, the sand was needed to keep the bricks in place to keep them from shifting. In a sense, it filled the gap between the bricks.
Now, most pavers are interlocking pavers, which means they have small ridges on the sidewall of the pavers, and when installed correctly, these ridges combined with the sand create the interlock, which keeps the bricks from shifting and keeps them in place.
Advantages to sanding is it will reinforce the interlock that we just discussed. When combined with sealing, the sealer will help keep the sand in place and this reinforces the interlock. To a lesser extent, it can help with weed growth, but it won’t completely stop weeds. That’s important to know when you have pavers. You’re still gonna need a regular maintenance program or some type of treatment to repel those weeds. But sanding and then sealing to lock that sand in place, definitely helps.
Now some disadvantages: Really when the correct type of sand is used. There aren’t any disadvantages that I can think of. If you use a poor quality sand, that could be a big disadvantage because it will most likely have seeds and nutrients, which will provide the perfect breeding ground for weeds, mold growth, as well as insect intrusion.
So there’s different types of sand that you could choose from. If you use the wrong type of sand or just go with the cheapest, that will lead to more issues than you’re already dealing with. So you may ask “What type of sand should I use?” Well, there’s a couple of different types. There’s paver sand or play sand as they call it. There’s silica sand and a polymeric sand. I want to address all three of those, give you a brief description of what those are, and so on.
Paver sand or “play sand”
Silica sand
Polymeric sand
And the next is polymeric sand. Years ago that’s what all the professionals used. Polymeric sand was the way to go. But there are some downsides to polymeric sand and with the creation of silica sand, as well as paver sealers, which stablize the joint sand…nowadays not many professionals are using polymetric sand. But what polymeric sand does…it creates a durable finish and it does help with weeds and ant intrusion.
The downside to that, is it can stain the pavers to leave a filmy haze. We call it poly-haze. It’s like a residue that can get on the surface and once it gets wet, it really adheres to the top of the bricks. If you don’t have all that dust in anything that comes out of that bag, once that gets wet, it’s, it’s pretty much permanent. It would need to be stripped off. And it’s very difficult to work with. You need to really hire a professional.
If you’re a do-it-yourself homeowner, we do not recommend using polymeric sand. It’s very difficult to work with, and the results can be very unsatisfactory. The thing is it does create a tight bond. It can be virtually impossible to work loose, which the downside to that is if you ever need repairs, it’s very difficult to pull these bricks apart and do the repair without damaging the bricks. Most professionals aren’t using polymeric sand anymore. We’ve all gone on to the new ways of sanding and sealing, but it is still an option to you.
It does work better with weeds, but you need to hire a professional. That’s not one I recommend for the homeowner. Most professionals are using paver sand or silica sand these days. In a lot of cases re-sanding is not required.
When should sand levels be replenished?
People ask me all the time “Well, how do I know if I need sand? What should my sales levels be?” Your sand should actually be an eighth of an inch to a quarter of an inch below the chamfer edge of the brick. And that’s that bottom bevel of the brick. It’s not supposed to be to the top. It’s not grout like on your tile floor in your house. It’s not…as my office assistant says, “It’s not for decoration. It’s for stabilization.” So it does not need to be to the top.
So for the homeowner that wants to do the sanding yourself, the best method is to broom the sand in, wet it down with a garden hose, rinse off the excess and get the sand to the desired depth. And then sealing with a high quality sealer will help stabilize that sand and keep it in place. And it will become more durable.
You don’t need to seal it, but like anything else with the heavy rains we get, sand can wash out, even when it’s sealed, it can work loose over time. But it’s definitely a step in the right direction to help with weeds and mold and to make sure that everything’s nice and stable.
So when it comes to sanding, it’s definitely something you can do yourself. All the needed supplies are pretty much at your hardware stores that you go to. But if you have any questions or you need help with sanding, it’s definitely a service that we offer. We’re Paver Protectors. You can reach us at (239) 288-0705 or at paverprotectors.com. Thanks for tuning in.
Thank you for listening to the Adventures in Paver Sealing podcast. To learn more about Paver Protectors, please visit paverprotectors.com or call (239) 288-0705.


